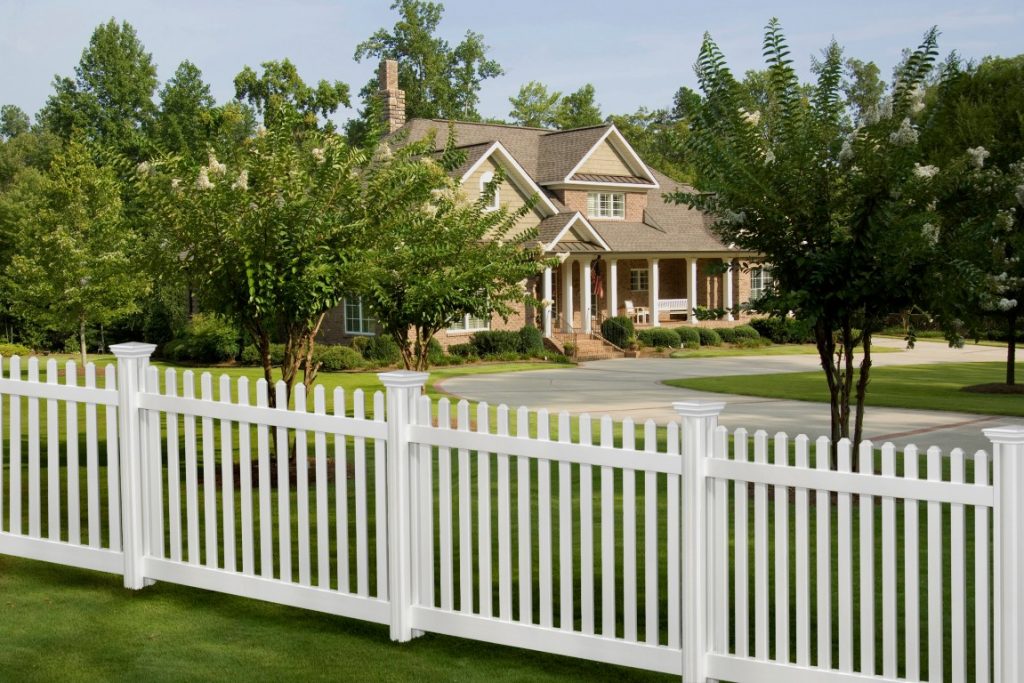
If you’re tired of repainting, sealing, or replacing a wood fence every few years, you’re not alone. That’s exactly why so many homeowners across the U.S. are switching to vinyl. It doesn’t rot, it doesn’t need staining, and when it’s installed correctly, it can easily outlast almost every other fencing material on the market.
But here’s the catch — “installed correctly” is doing a lot of heavy lifting in that sentence. A vinyl fence that’s rushed or poorly planned can warp, lean, or crack within just a few seasons. The good news? Putting up a vinyl fence that genuinely lasts for decades isn’t complicated once you understand the process.
In this guide, we’ll walk through exactly how to install vinyl fences step by step, the mistakes to avoid, and the small details that make the biggest difference in longevity.
Why Vinyl Fences Are Worth the Investment
Before we get into the how-to, it helps to understand why vinyl has become such a popular choice:
- No rotting, warping, or insect damage as you’d get with wood
- No painting or staining required, ever
- UV-resistant materials that resist fading and cracking
- Minimal maintenance — an occasional hose-down is usually all it needs
- Long lifespan, often 20-30 years or more, when installed properly
The catch is that all of these benefits depend heavily on the installation. A fence that’s structurally sound from day one will still be standing strong decades from now.
Step 1: Plan Before You Dig
Every long-lasting vinyl fence starts with proper planning. Skipping this step is one of the most common reasons fences fail early.
Call before you dig. In the U.S., you can dial 811 to have utility lines marked before any digging begins. This isn’t optional — it protects you from hitting gas, water, or electrical lines.
Check local codes and HOA rules. Many municipalities and homeowner associations have specific rules about fence height, setback distance from property lines, and even color or style requirements. A quick call to your local building department can save you from having to redo the entire project later.
Map out your fence line. Use stakes and string to mark exactly where your fence will go. Measure twice — a crooked fence line is hard to fix once posts are set in concrete.
Step 2: Gather the Right Materials and Tools
Having everything on hand before you start prevents delays and shortcuts that compromise quality. You’ll typically need:
- Vinyl fence panels, posts, and post caps
- Post hole digger or power auger
- Concrete mix
- Level (a 4-foot level is ideal)
- Tape measure
- String line and stakes
- Gravel (for drainage at the base of post holes)
- Screws or fasteners (if your kit doesn’t include snap-together panels)
Quality matters here. Cheaper vinyl can become brittle in extreme cold or overly soft in intense heat. Look for fencing with UV inhibitors and a thicker wall profile, since these factors directly affect how well the fence holds up over time.
Step 3: Dig the Post Holes Correctly
This step is where most long-term durability is won or lost.
Depth matters. As a general rule, post holes should be about one-third the height of the fence, though local frost lines can affect this. In colder states, holes often need to go below the frost line to prevent posts from heaving during winter freezes.
Width matters too. Holes should typically be about three times the width of the post to allow enough concrete around it for stability.
Add gravel first. A few inches of gravel at the bottom of each hole improves drainage, which helps prevent water from pooling around the base of the post and causing shifting over time.
Step 4: Set the Posts with Precision
This is the step that determines whether your fence stays straight for decades or starts leaning within a year or two.
- Place the post in the hole and pour in concrete, mixing it as you go or using a pre-mixed setting type.
- Use a level on at least two sides of the post to make sure it’s perfectly plumb.
- Brace the post with stakes and scrap wood while the concrete cures, checking the level periodically as it sets.
- Let the concrete cure fully — usually 24 to 48 hours — before attaching any panels or rails.
Rushing this step is one of the top reasons vinyl fences fail prematurely. A post that isn’t perfectly level when set will only get worse with time, especially under wind load.
Step 5: Install Rails and Panels
Once your posts are solid, it’s time to bring the fence to life.
- Slide the rails into the routed holes in the posts (most vinyl fence systems are designed to snap or slide together).
- Attach panels section by section, double-checking that each one is level and square before moving to the next.
- Use a rubber mallet, not a hammer, to gently seat panels without cracking the vinyl.
- Leave a slight room for expansion, since vinyl naturally expands and contracts with temperature changes. Manufacturer instructions usually specify exact spacing.
Step 6: Add Post Caps and Final Touches
Post caps aren’t just decorative. They seal the tops of each hollow post, preventing water from entering and causing damage during freeze-thaw cycles, especially in colder climates.
Once everything is in place, do a final walk-through:
- Check that every section is level and securely attached
- Make sure gates swing and latch properly
- Confirm there are no sharp edges or loose fasteners
Common Mistakes That Shorten a Vinyl Fence’s Lifespan
Even with great materials, certain mistakes can take years off your fence’s life:
- Skipping the frost line depth in cold climates, leading to posts that shift seasonally
- Not allowing the concrete to fully cure before adding weight from panels
- Ignoring expansion gaps, which can cause warping in extreme heat
- Using low-quality vinyl without UV protection
- Poor drainage, leading to water pooling at the base of posts
Avoiding these issues is often the difference between a fence that needs replacing in five years and one that’s still standing strong in thirty.
DIY or Hire a Professional?
Installing a vinyl fence yourself is absolutely doable, especially for smaller, straightforward yards. It typically takes a weekend or two, depending on the length of your fence line and the number of gates involved.
That said, for larger properties, sloped yards, or anyone short on time, hiring a professional fencing contractor can be worth it. A professional install often comes with warranties on both labor and materials, plus the assurance that posts are properly set the first time.
Ready for a Vinyl Fence That’s Actually Built to Last?
A vinyl fence is one of the lowest-maintenance, longest-lasting fencing options available today, but only when it’s installed the right way. Taking the time to plan properly, set posts correctly, and avoid common shortcuts will pay off for decades to come.
If you’d rather skip the guesswork and have your fence installed by experienced professionals, the team at Arvern Iron Works is here to help. We bring the same precision and craftsmanship to vinyl fence installations that we apply to all our fencing and ironwork projects, ensuring your fence is built to last from day one.
Reach out to Arvern Iron Works today for a free quote, and let’s get your fence project done right, the first time.